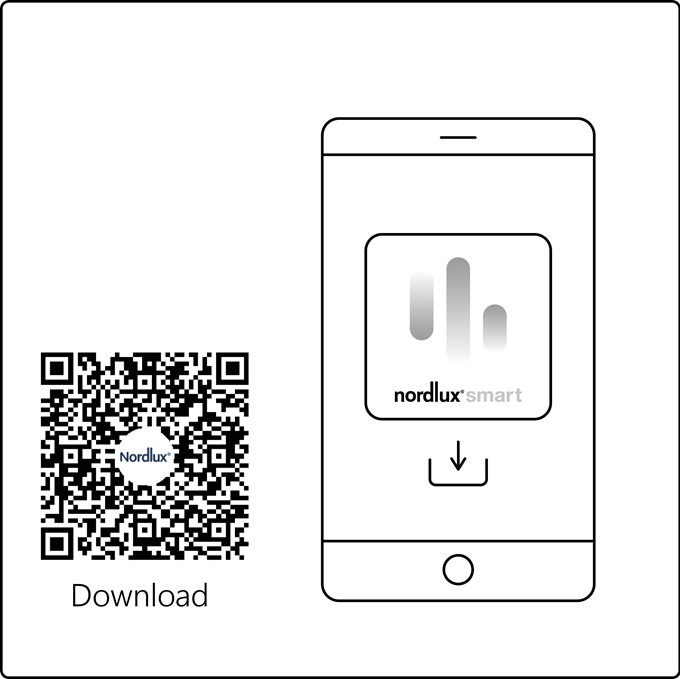
Step 1
Download the Nordlux Smart app from the App Store or Google Play.
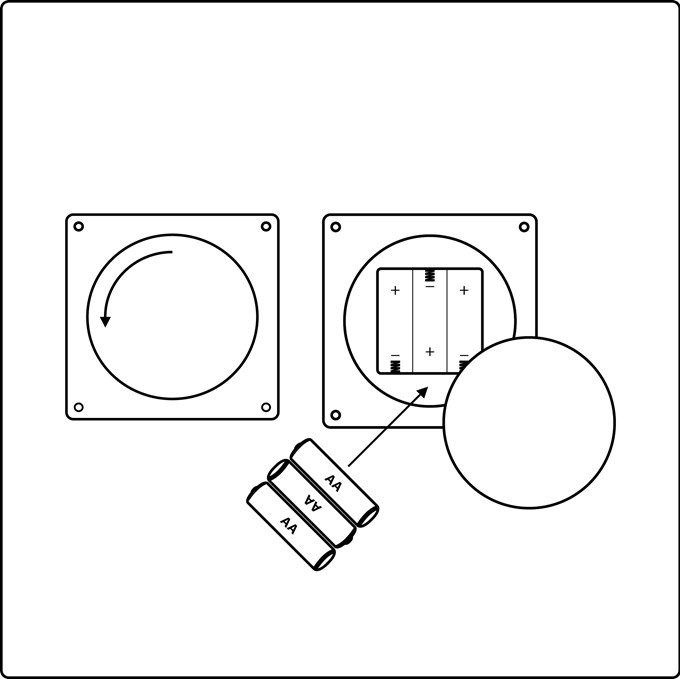
Step 2
Remove the battery cap and insert 3 x AA batteries.
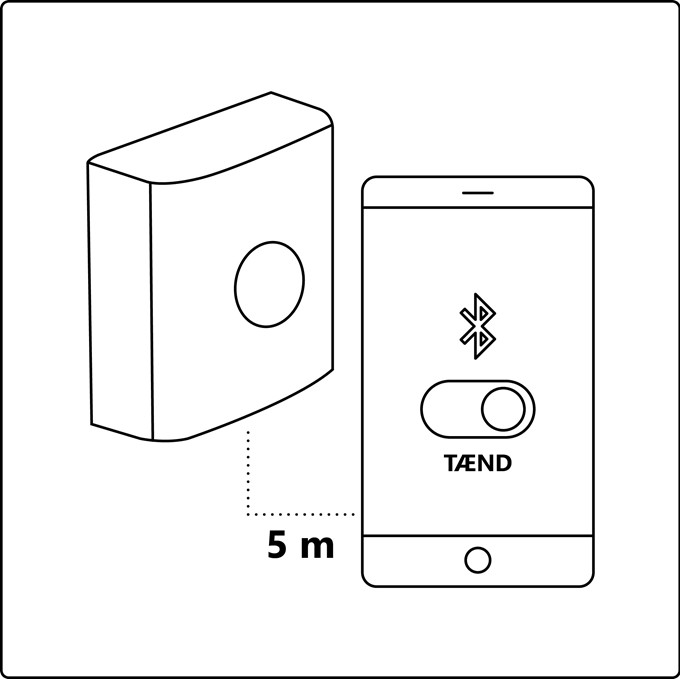
Step 3
Turn on Bluetooth on your device. Distance to Smart Sensor is up to 5 meters.
The Nordlux Smart Sensor is perfect for automating your lights, both indoors and outdoors. Below you will find a step-by-step guide on how to connect and set up your Smart Sensor.

Download the Nordlux Smart app from the App Store or Google Play.

Remove the battery cap and insert 3 x AA batteries.

Turn on Bluetooth on your device. Distance to Smart Sensor is up to 5 meters.
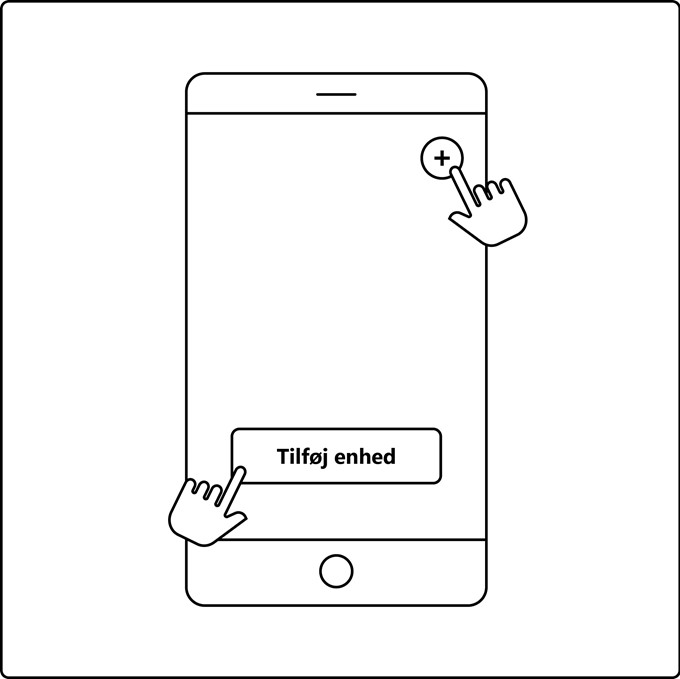
Open the Nordlux Smart app and tap the plus icon in the top right corner or “Add device”.
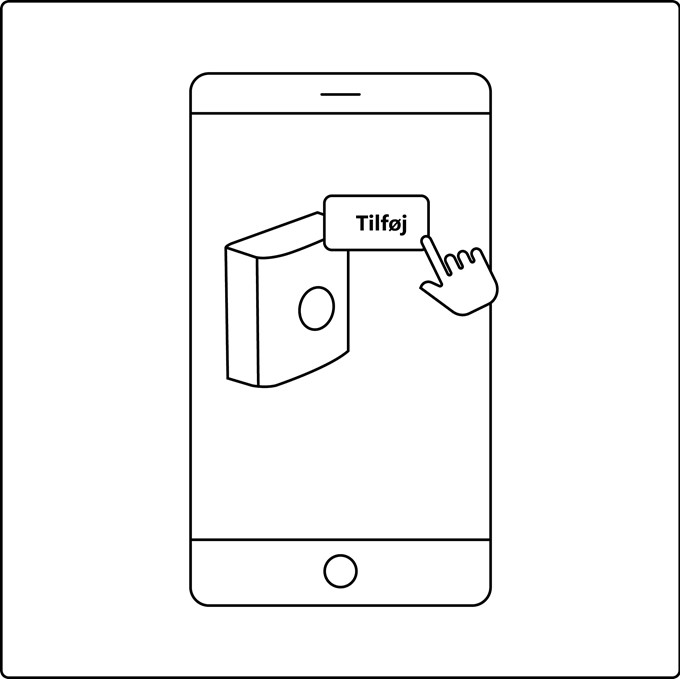
1. Tap “Add”. 2. Choose device and tap “Next”. 3. Add device to room or skip this step.
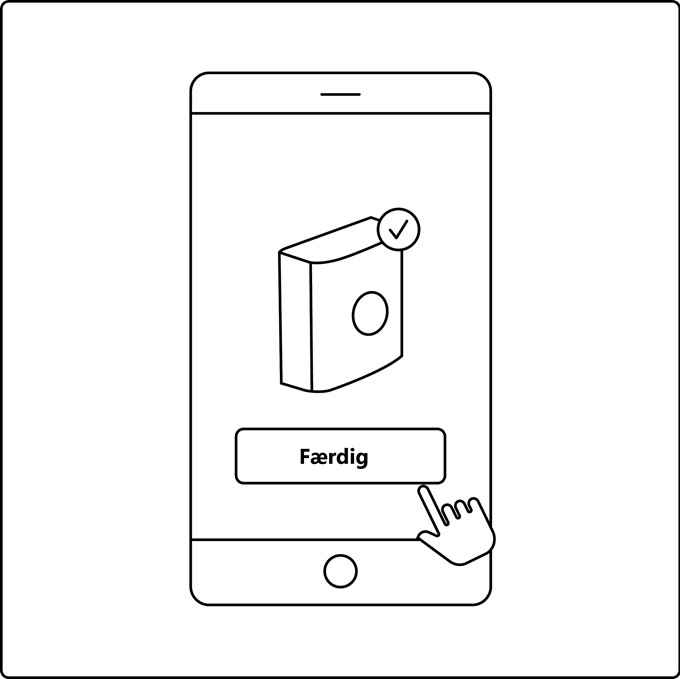
Device is now being connected. Tap “Finished”. If the device is not connected successfully, please tap the “!” for further information.
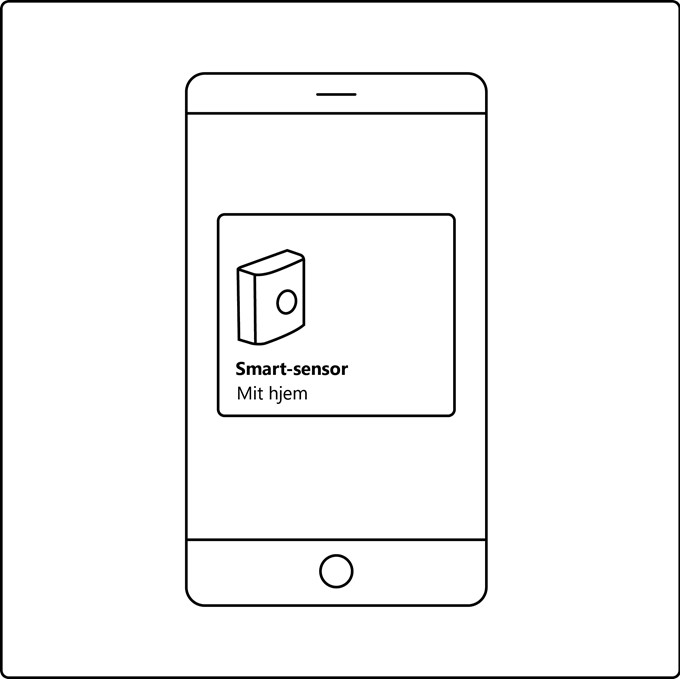
Tap the Smart Smart Sensor on the home screen under “Your devices” to control your Smart Sensor.
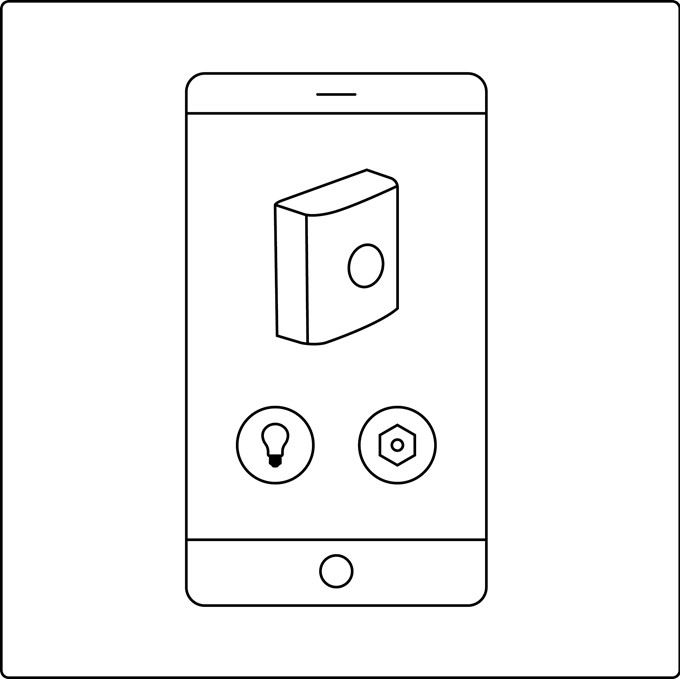
Now you can choose between “Connected lights” or “Parameter settings”.
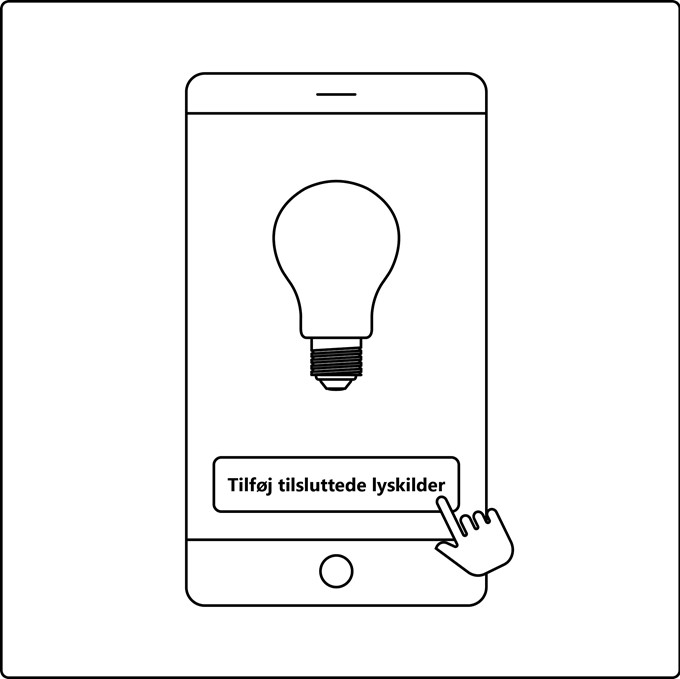
Add the lights you want to be controlled by the Smart Sensor.
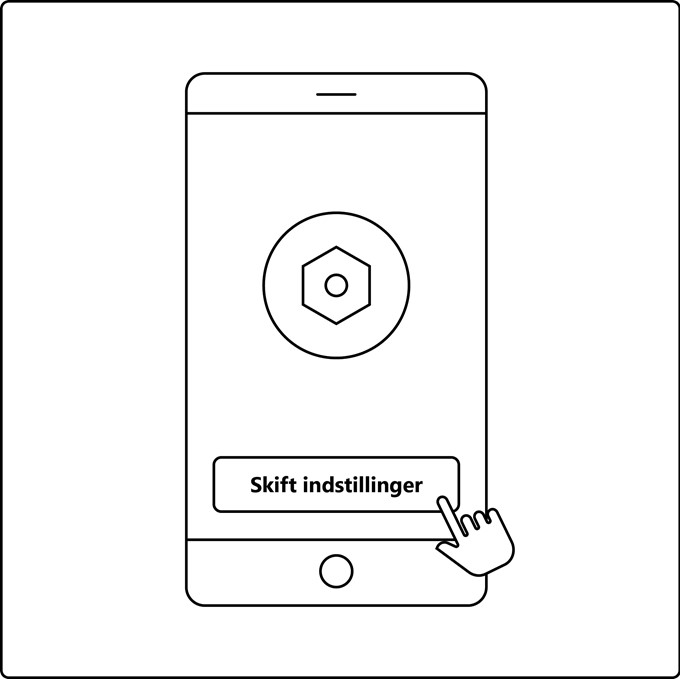
Choose light level, motion sensitivity and setup timer.
When experiencing connection issues, a common solution is to reset the Sensor. This can be done by pressing the reset button on top 3 times, until the light starts to flash – then the reset is complete.
If resetting your Sensor does not solve the issue you are having, visit our "frequently asked questions"-page by following the link below.